What is an Environment Calculated Field?
In Honeycomb, saved calculated fields can apply to either a specific dataset or an entire environment. Environment-wide calculated fields let you define reusable computations that apply across multiple datasets and services. By managing these fields at the environment level, you ensure consistency in data transformation and reduce the need for redundant field definitions.For a more general introduction to calculated fields, their scopes, and how you can use them in Honeycomb, visit Use Calculated Fields.
Creating Calculated Fields
Define a calculated field to transform or derive new insights from your data. To create an environment-wide calculated field:- Log in to the Honeycomb UI.
- In the navigation menu, select the Environment label, then choose Manage Environments.
- Locate the environment to which you want to add a calculated field, and select its name to open its settings.
- Go to the Schema view.
- Select Add New Calculated Field.
-
In the modal, enter details:
- Select Save.
Editing Calculated Fields
Update a calculated field to refine its formula or adjust its name. To edit an environment-wide calculated field:- Log in to the Honeycomb UI.
- In the navigation menu, select the Environment label, then select Manage Environments.
- Find the environment containing the calculated field you want to change, and select its name to open its settings.
- Go to the Schema view.
-
Locate the calculated field in the list, and select Edit.
-
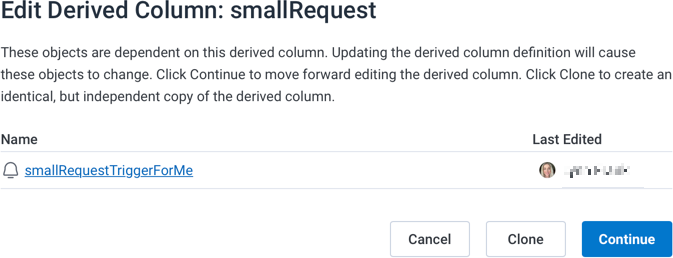
If dependencies exist, Honeycomb will prompt you to either clone the field or continue editing.
If you are unsure, contact the field’s most recent editor before proceeding.
-
If dependencies exist, Honeycomb will prompt you to either clone the field or continue editing.
If you are unsure, contact the field’s most recent editor before proceeding.
- In the modal, modify the pre-populated name and formula as needed. For syntax, available functions, and example formulas, visit Calculated Field Formula Reference.
- Select Save.
Cloning Calculated Fields
If you need a new calculated field similar to an existing one, you can clone the existing calculated field and modify it as needed. To clone an environment-wide calculated field:- Log in to the Honeycomb UI.
- In the navigation menu, select the Environment label, then select Manage Environments.
- Find the environment containing the calculated field you want to clone, and select its name to open its settings.
- Go to the Schema view.
-
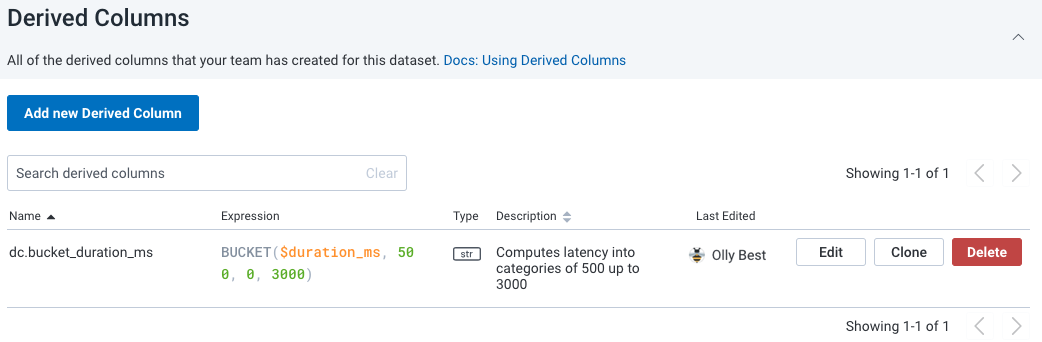
Locate the calculated field in the list, and select Clone.
- In the modal, modify the pre-populated name and formula as needed. For syntax, available functions, and example formulas, visit Calculated Field Formula Reference.
- Select Save.
Deleting Calculated Fields
To manage your data effectively, you may need to delete calculated fields that you no longer need.To delete a calculated field, you must be its creator or a Team Owner.
- Log in to the Honeycomb UI.
- In the navigation menu, select the Environment label, then choose Manage Environments.
- Find the environment containing the calculated field you want to delete, and select its name to open its settings.
- Go to the Schema view.
-
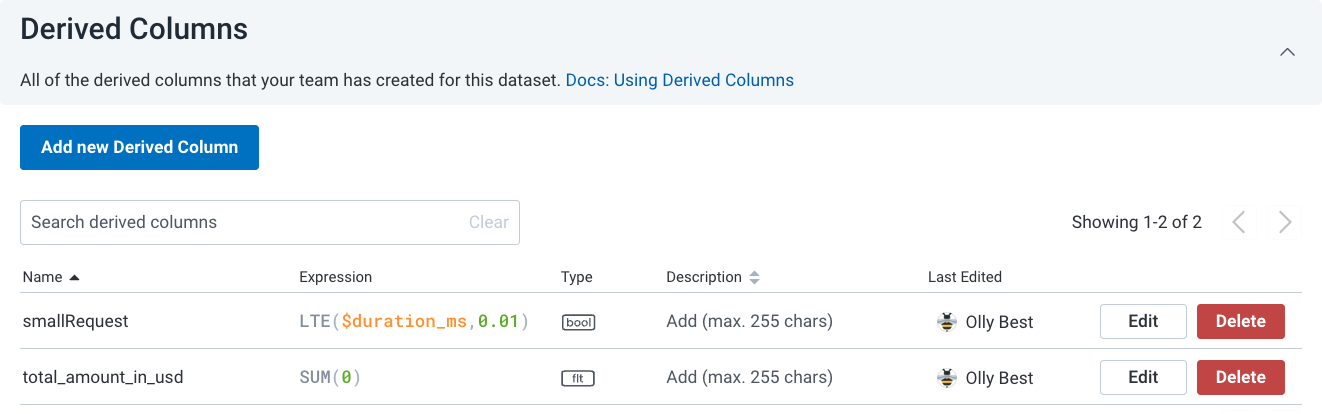
Locate the calculated field in the list, and select Delete.

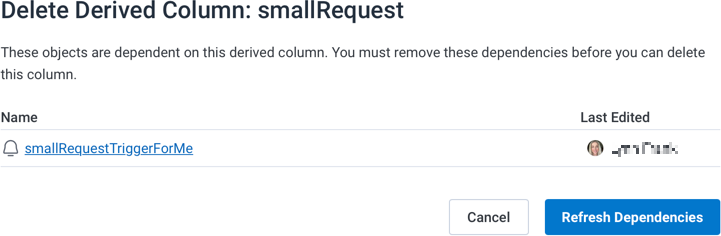
- If dependencies exist, a list will appear.
- To continue, remove all dependencies. If you are unsure, contact the most recent editor of each dependency before proceeding.
-
Select Refresh Dependencies.
-
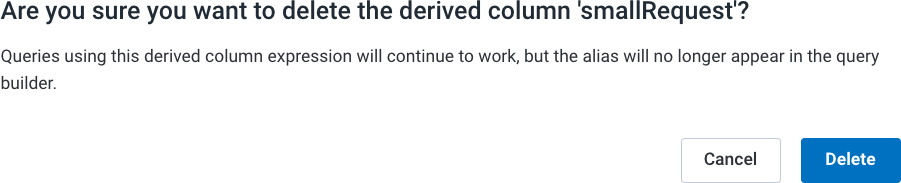
In the confirmation modal, select Delete.