What is a Dataset Calculated Field?
In Honeycomb, saved calculated fields can apply to either a specific dataset or an entire environment. Dataset-specific calculated fields allow you to define custom computations that apply only within a single dataset. By managing these fields at the dataset level, you transform raw data into more meaningful insights without affecting other datasets in your environment.For a more general introduction to calculated fields, their scopes, and how you can use them in Honeycomb, visit Use Calculated Fields.
Creating Calculated Fields
Define a calculated field to transform or derive new insights from your data. To create a dataset-specific calculated field:- Log in to the Honeycomb UI.
- In the navigation menu, select the Environment label, then choose the environment that includes the dataset to which you want to add a calculated field.
- In the navigation menu, select Manage Data, then choose Datasets.
- Locate the dataset to which you want to add a calculated field, and select its name to open its settings.
- Go to the Schema view.
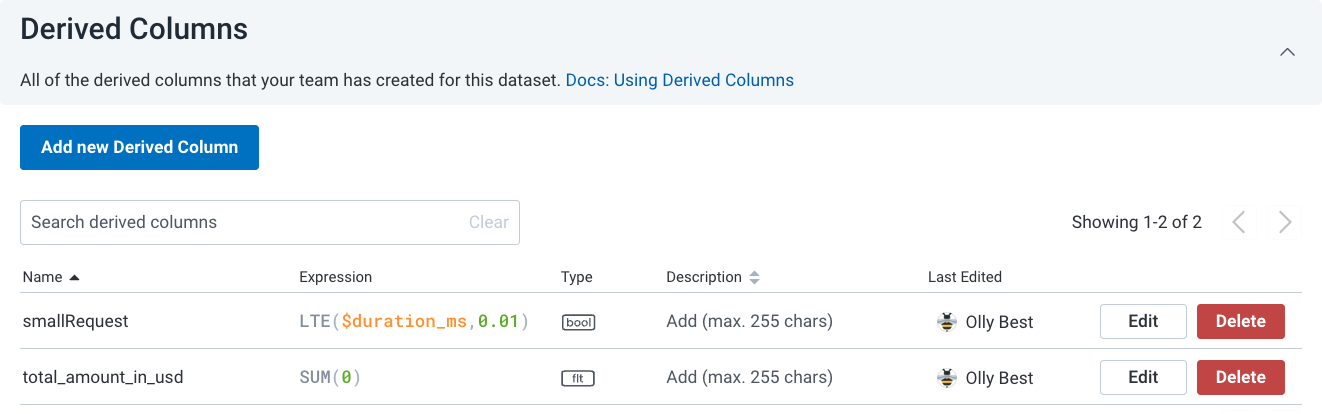
- Expand the Calculated Fields section.
- Select Add New Calculated Field.
-
In the modal, enter details:
- Select Save.
Editing Calculated Fields
Update a calculated field to refine its formula or adjust its name. To edit a dataset-specific calculated field:- Log in to the Honeycomb UI.
- In the navigation menu, select the Environment label, then choose the environment that includes the dataset with the calculated field you want to change.
- In the navigation menu, select Manage Data, then choose Datasets.
- Find the dataset that contains the calculated field you want to change, and select its name to open its settings.
- Go to the Schema view.
- Expand the Calculated Fields section.
-
Locate the calculated field in the list, and select Edit.
-
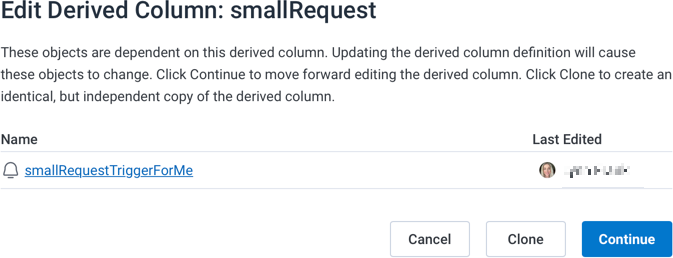
If dependencies exist, Honeycomb will prompt you to either clone the field or continue editing.
If you are unsure, contact the field’s most recent editor before proceeding.
-
If dependencies exist, Honeycomb will prompt you to either clone the field or continue editing.
If you are unsure, contact the field’s most recent editor before proceeding.
- In the modal, modify the pre-populated name and formula as needed. For syntax, available functions, and example formulas, visit Calculated Field Formula Reference.
- Select Save.
Cloning Calculated Fields
If you need a new calculated field similar to an existing one, you can clone the existing calculated field and modify it as needed. To clone a dataset-specific calculated field:- In the navigation menu, select the Environment label, then choose the environment that includes the dataset with the calculated field you want to clone.
- In the navigation menu, select Manage Data, then choose Datasets.
- Find the dataset that contains the calculated field you want to clone, and select its name to open its settings.
- Go to the Schema view.
- Expand the Calculated Fields section.
-
Locate the calculated field in the list, and select Clone.
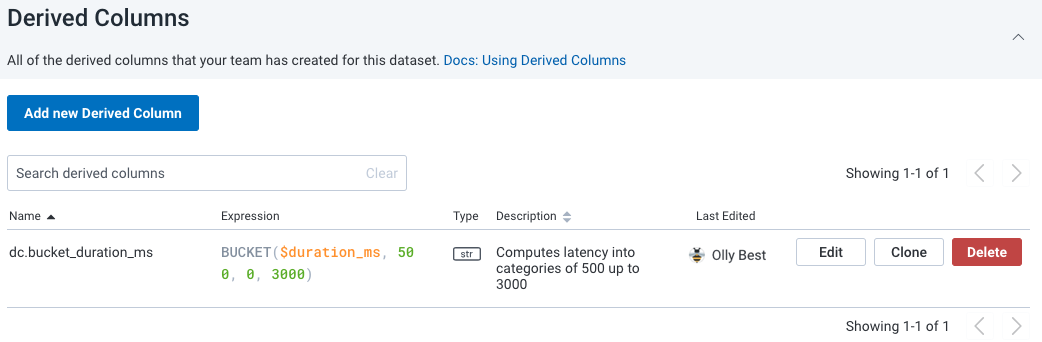
- In the modal, modify the pre-populated name and formula as needed. For syntax, available functions, and example formulas, visit Calculated Field Formula Reference.
- Select Save.
Deleting Calculated Fields
To manage your data effectively, you may need to delete calculated fields that you no longer need.To delete a calculated field, you must be its creator or a Team Owner.
- In the navigation menu, select the Environment label, then choose the environment that includes the dataset with the calculated field you want to delete.
- In the navigation menu, select Manage Data, then choose Datasets.
- Find the dataset that contains the calculated field you want to delete, and select its name to open its settings.
- Go to the Schema view.
- Expand the Calculated Fields section.
-
Locate the calculated field in the list, and select Delete.

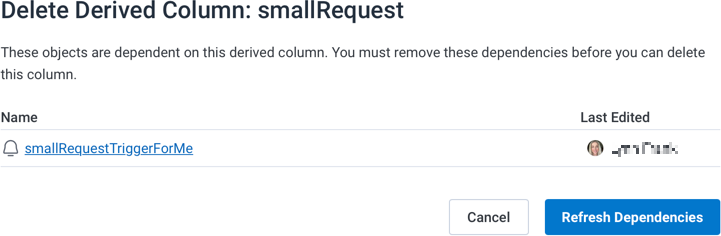
- If dependencies exist, a list will appear.
- To continue, remove all dependencies. If you are unsure, contact the most recent editor of each dependency before proceeding.
-
Select Refresh Dependencies.
-
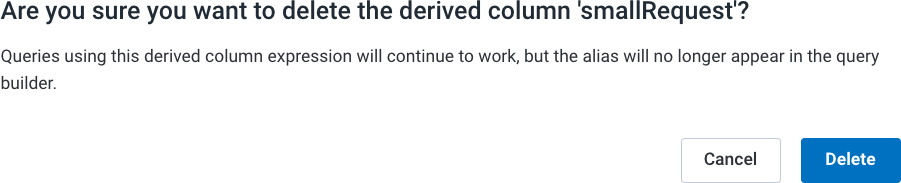
In the confirmation modal, select Delete.