

- New users can sign up for Honeycomb using their Google account
- Existing users can enable Google SSO for their individual Honeycomb accounts by linking an individual Google account
Requiring a Team to Use Google SSO
If you’re a Team Owner, you can require that your Team’s members authenticate using Google SSO.Before You Begin
To successfully require Google SSO for your Team, you should have a Google Workspace hosted domain. Each Google Workspace hosted domain corresponds to only one Honeycomb Team, and new accounts are automatically added to this Team. For example, all users signing in frommyexample.com will be added to the Team that corresponds to myexample.com.
Enable Google SSO for an Existing Honeycomb Team Owner Account
Before you can require that your Honeycomb Team authenticate using Google SSO, you should enable Google SSO for your Team Owner account:- Log in to Honeycomb using your Team Owner account.
- Navigate to Account > My account.
- Locate your name and email address, and select Google SSO Link Account.
- When prompted, complete the additional steps to authenticate with Google.
Convert Your Honeycomb Team to Google SSO
Next, require Google SSO for your Honeycomb Team:- In Honeycomb, navigate to Account > Team Settings, and select the Team Details view.
- Locate the Single Sign-On section, which displays any previous SSO configuration.
-
Select Enable SSO.

- In the SSO provider configuration modal, select Google, then select Next.
- When prompted, complete the additional steps to authenticate with Google.
Signing Up for Honeycomb using Your Google Account
If you are a new user and you want to sign up for Honeycomb using your Google account:-
Navigate to the Honeycomb sign-up page, and select Sign up with Google.
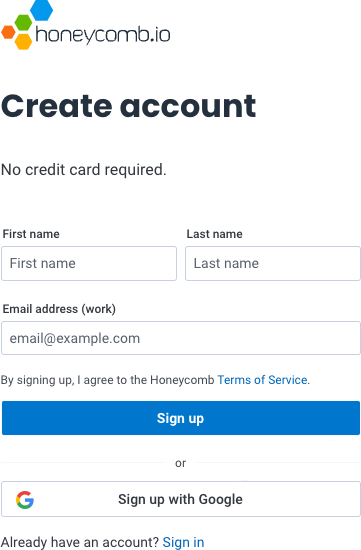
- When prompted, choose your Google account, then complete the additional sign-up steps.
Enabling Google SSO for an Existing Honeycomb Account
If you created your Honeycomb account with email address/password as credentials, you can link your Google account to your Honeycomb account and use Google to log in to Honeycomb thereafter:- Navigate to Account > My account.
- Locate your name and email address, and select Google SSO Link Account.
- When prompted, complete the additional steps to authenticate with Google.
Logging In to Honeycomb using Your Google Account
If you originally signed up for Honeycomb using your Google account or have enabled Google SSO for an Existing Honeycomb account, you can log in to Honeycomb using your Google account:-
Navigate to the Honeycomb UI, and select Login with Google.
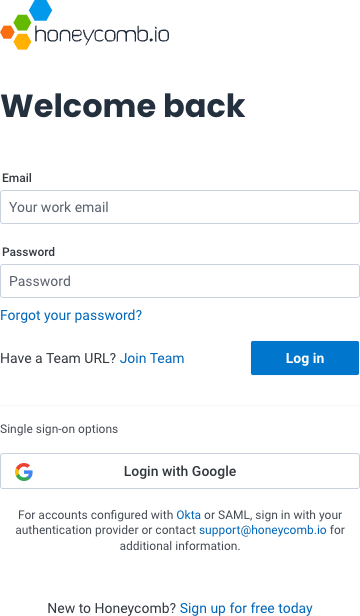
- When prompted, choose your Google account.